Contents
Key Takeaways
- Electric paint sprayers are fast, efficient tools for painting large or tricky surfaces like walls, fences, furniture, and ceilings.
- Airless paint sprayers deliver smooth, even coverage and work well with thicker paints like latex.
- Using a paint sprayer indoors? Ventilation and masking are key, plus you’ll need safety gear like a HEPA mask and coveralls.
- Practice your spray technique on cardboard first to avoid runs, uneven coverage, or overspray.
- Proper prep and clean-up matter just as much as the painting itself.
What Can You Use a Paint Sprayer For?
You can use a paint sprayer for just about anything that needs a coat of paint, especially larger surfaces or ones with texture. Think walls, fences, ceilings, doors, furniture, cabinets, and trim. If it takes too long with a roller or brush, a paint sprayer will save you hours.
How Does an Electric Paint Sprayer Work?
An electric paint sprayer (specifically, an airless paint sprayer) works by pumping paint at very high pressure through a small nozzle, turning it into a fine mist. It doesn’t use air like traditional HVLP (high-volume, low-pressure) systems — it just relies on pure pressure, making it ideal for thicker paints like latex and quickly covering large areas.
Because it’s airless, you get fewer bubbles and more consistent results, especially on textured walls, ceilings, or rough wood.

What Kind of Paint Should You Use in an Electric Sprayer?
You can use a wide range of paints, but latex is the most common choice, especially for walls and ceilings. The good news is that the best electric paint sprayer can usually handle latex paint without thinning. That said, if your sprayer manual recommends thinning it slightly, follow those instructions.
Oil-based paints, stains, and primers also work but require more clean-up since they don’t rinse out with water. Always check what your sprayer supports before loading up.
How to Use an Electric Paint Sprayer – Step-by-Step
These are the steps you should follow so you know how to use an electric paint sprayer the right way:
Step 1: Prep the Area
- Remove furniture or cover it with plastic sheeting.
- Tape off outlets, trim, baseboards, and windows.
- Lay down drop cloths on the floor.
- Open windows and set up fans for airflow (especially when spraying indoors).
Step 2: Set Up Your Sprayer
- Plug in your electric paint sprayer near your work area.
- Attach the paint intake hose to your paint bucket.
- Attach the waste/prime hose to an empty bucket.
- Choose the right spray tip for your paint (check your manual).
- Make sure everything is tightened and ready.
Step 3: Prime the Sprayer
- Set the sprayer to prime.
- Let the paint cycle through the pump into the waste bucket for about 30 seconds.
- Switch to spray mode once the paint flows cleanly.
Step 4: Test Your Spray Pattern
- Spray on cardboard or scrap wood.
- Adjust the pressure or tip if needed.
- Practice moving side-to-side with even speed and distance.
Step 5: Start Spraying
- Hold the sprayer 12–24 inches from the surface.
- Keep the gun perpendicular and move in overlapping horizontal lines.
- Don’t stop mid-spray or you’ll get blotches.
- Work in sections for better control.
How to Use an Electric Paint Sprayer Indoors
If you’re wondering how to use an electric paint sprayer indoors, know that it’s totally doable and safe with the right prep.
- Mask everything. Use painter’s plastic and tape to seal off floors, walls, trim, vents, and fixtures.
- Ventilate the room with open windows, fans, and doors.
- Wear your respirator, coveralls, and goggles — no shortcuts here.
- Use controlled, smooth motions to avoid overloading one area.
Tip: Go light on the first coat and build up. It’s better than covering everything in one go and ending up with runs.
How To Clean Up Your Paint Sprayer After Using
After using your electric paint sprayer, flush it with water (or the appropriate solvent) until it runs clear. Remove the spray tip and filters, clean them separately, and wipe down the housing. Never let the paint dry inside — clean it right after you're done.
Benefits of Using an Airless Paint Sprayer
So why bother learning how to use an electric paint sprayer instead of just rolling your walls? Here’s why it’s worth it:
- Fast and efficient: Cover entire rooms in a fraction of the time it takes with a roller—especially ceilings and textured surfaces.
- Smooth, even finish: You get a pro-looking result without brush strokes or roller marks. It is ideal for cabinets and furniture, too.
- Handles thicker paints: Airless paint sprayers are built to pump heavier paints like latex straight from the bucket. No refilling tiny cups every 5 minutes.
- Great for hard-to-reach areas: Spraying is perfect for corners, trim, baseboards, and other spots that are a pain to paint manually.
Downsides of Using an Airless Paint Sprayer
There are a few downsides to using an airless paint sprayer, such as overspray and safety hazards.
- Overspray: You’ll need to mask everything. If you’re not careful, these sprayers put out a fine mist that gets on everything.
- Safety hazards: Paint mist isn’t something you want to breathe in or get on your skin. Wear all necessary safety gear to stay protected.
- Steeper learning curve: If it’s your first time using a paint sprayer, you’ll need to practice your spray distance and motion to avoid runs, uneven coats, or dry spots.

What Is Best To Use For Painting?
The best tool for painting depends on what you're painting. When choosing between a paint sprayer, roller, brush, or HVLP system, it comes down to the surface you're working on, the finish you want, and how much time you have. Each method has trade-offs in speed, control, cost, and clean-up.
For big rooms, fences, or ceilings, an electric paint sprayer is the winner. For cars or furniture, a compressor setup is more precise.
| Tool | Pros | Cons |
| Electric Paint Sprayer | Fast coverage, handles thick paint, great for large areas |
Needs masking, learning curve, more clean-up |
|
HVLP Sprayer (Standalone) |
Great control, smooth finish, ideal for detail work |
Slower, may need paint thinning, not for large surfaces |
|
Air Compressor + HVLP Gun |
Precise finish, less overspray, adjustable air pressure |
Requires setup, not ideal for thick paint or big areas |
|
Air Compressor + Conventional Gun |
Powerful spray, faster for large areas |
More overspray, needs thinning, harder to control |
| Paint Pads | Clean finish on smooth walls, less splatter |
Not great on textured or uneven surfaces |
| Aerosol Spray Cans |
Easy for small jobs or touch-ups |
Expensive for big projects, limited paint types |
|
Roller |
Cheap, quick for walls and ceiling |
Messier than you’d expect, poor for trim or tight areas |
| Brush | Great for corners, edges, and detail |
Slow, easy to leave visible brush marks |
Safety Precautions When Using a Paint Sprayer
Before you learn to use an electric paint sprayer, take safety seriously by wearing the right protective equipment and taking all necessary precautions.
- Coveralls: Wear a full-body coverall or paint suit. If it has built-in booties, it’s even better. Otherwise, wear old shoes or use disposable shoe covers.
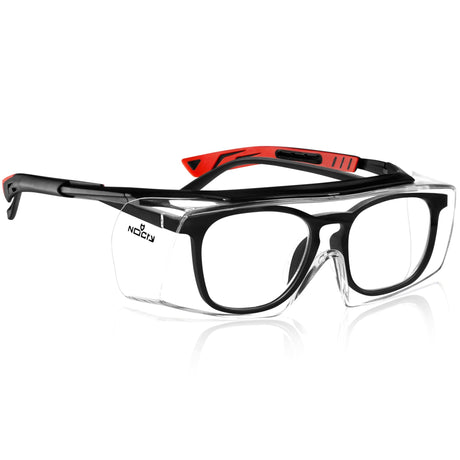
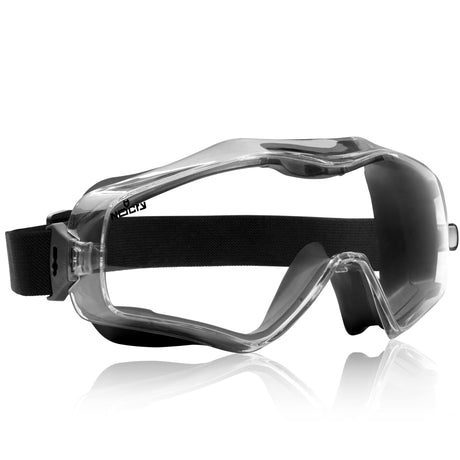
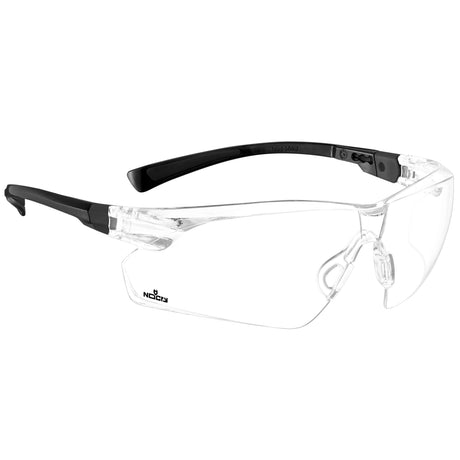
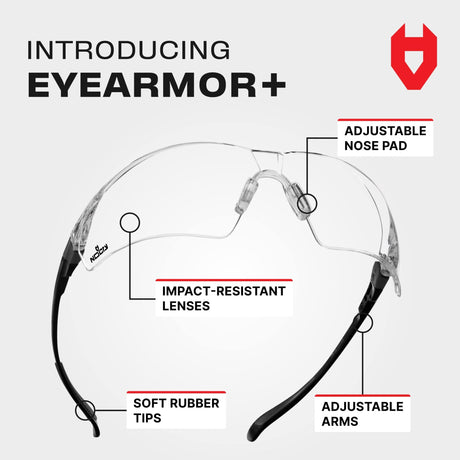
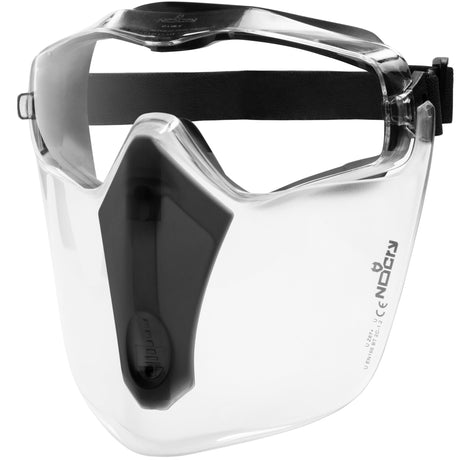
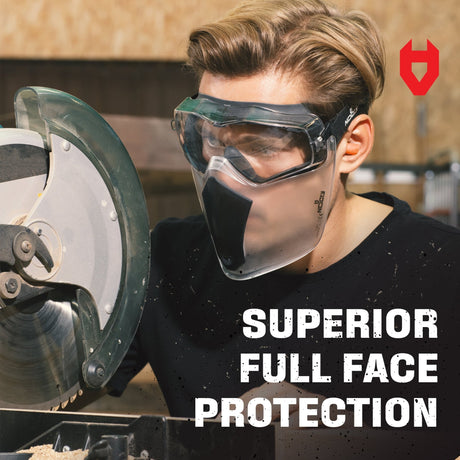
- Safety goggles: Don’t rely on glasses. Use sealed goggles that fully protect your eyes from the mist.
- Respirator: A paper mask will not protect your lungs, especially when painting indoors. Get a HEPA-certified respirator.
- Spray sock: If your coveralls don’t, this will cover your head and neck. It’s like a thin ski mask, keeping the mist off your face and ears.
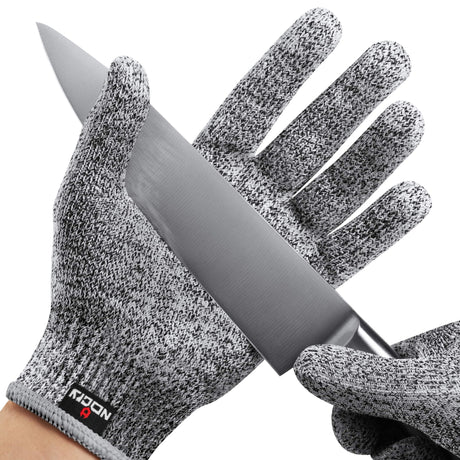
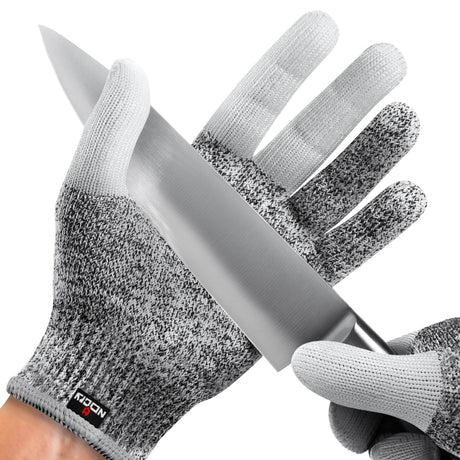
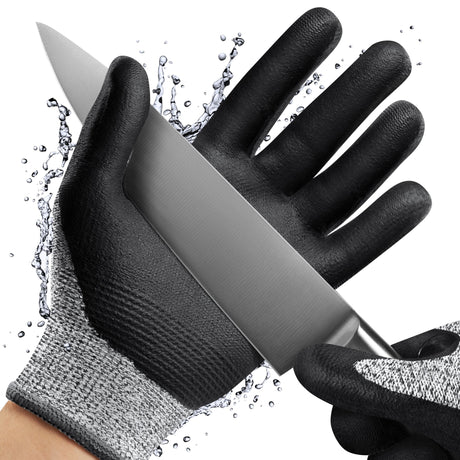
- Gloves: Use nitrile or work gloves. They’ll protect your hands and help you grip the sprayer better.
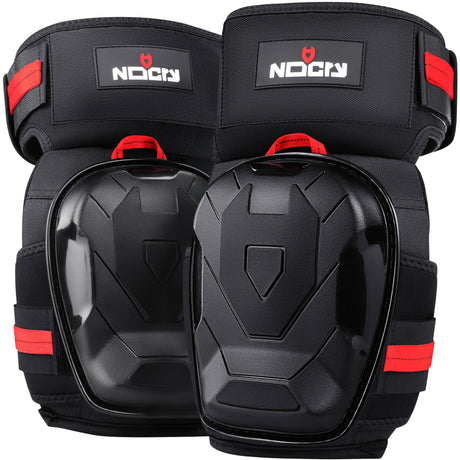
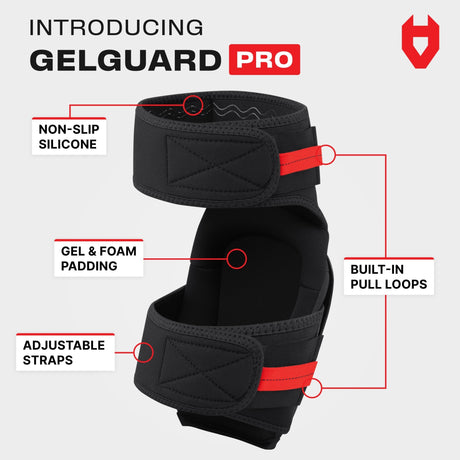
- Knee pads: Optional, but very helpful for long projects, especially when spraying baseboards or lower surfaces
Conclusion
Learning how to use an electric paint sprayer takes a little practice, but once you get the hang of it, it makes painting easier and faster. Remember: Prep well, wear the right gear, and take your time setting up. Whether you’re painting indoors or out, it’s one of the best tools for big jobs.
Related Articles


About the author
Livia Ilie is the Content Specialist of NoCry, with over six years of writing experience. With a background in journalism, she focuses on delivering clear, practical guides backed by industry expertise.