An electric paint sprayer, otherwise known as an airless sprayer is a great way of evenly spreading paint across uneven surfaces, but it’s important to know how to use an electric paint sprayer properly before you get to work.
While an airless paint sprayer can be a great tool for large paint jobs, handling latex paint better than the average sprayer, there are still things you need to consider before tackling a paint job with one. We’ve put together this handy guide so you can feel confident before beginning a paint spraying job.
Benefits of the Airless Paint Sprayer
Airless sprayers have many advantages over brushes and rollers, as well as other paint sprayers, and it’s important to know what they are before you start spray painting your exterior or interior walls.
Handling Latex Paint Better – Higher Volume
While other paint sprayers either use air to mix with the paint prior to spraying or use an attached cup as their source of ammunition, airless sprayers can handle more paint at a time, and thicker formulations. With an airless sprayer, you can attach a hose to a bucket of paint, meaning you’ll be able to replenish your supply less regularly.
Uniform Paint Application
With the right technique, airless sprayers can provide uniform coverage to surfaces, even those that would be tricky to access with a brush or roller. Spray painting can be especially handy with things such as pipes, slats, and eaves, where a roller or brush would lead to uneven coverage.
Negatives of the Airless Paint Sprayer
While an airless sprayer can be an invaluable tool for large projects, there are also some negatives to using the tool, which should be considered before you start painting.
Risk of Injury – Skin & Breathing
The mist can inject paint into your skin or be breathed in, being very dangerous either way. This is why you should only approach a task with a spray gun after taking the right safety measures and wearing the proper protective gear.
Very High Pressure – Difficulty of Use
An airless sprayer is a high-pressure tool and should be treated as such. The speed and intensity at which paint fires out of the spray gun can be a little hard to handle, especially for those who are new to DIY projects.
Safety Precautions When Using a Paint Sprayer
When using your airless electric paint sprayer, you need to wear protective clothing, to ensure that you avoid injury, illness, and simply destroying your clothes.
Full-Body Coveralls
To avoid paint mist getting onto and penetrating your skin, you must wear a full-body coverall jumpsuit, preferably one with booties attached. If you can’t find one with booties, wear separate shoe covers or wear old shoes you don’t care about ruining.
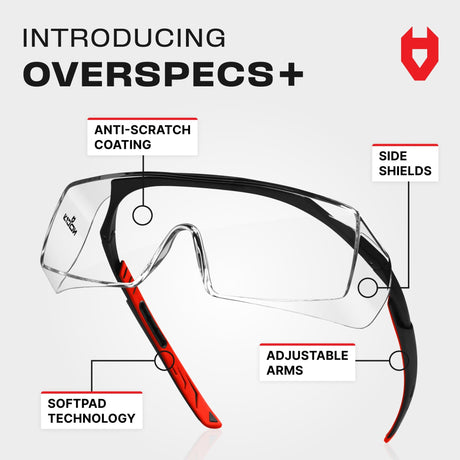
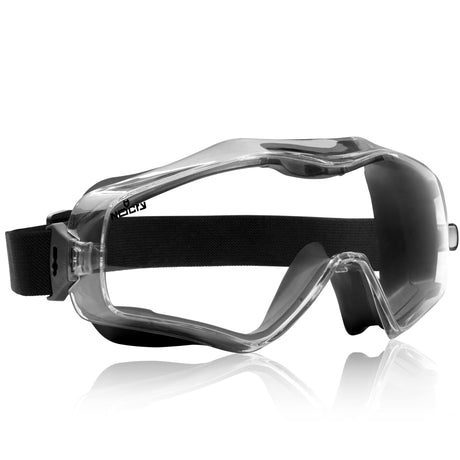
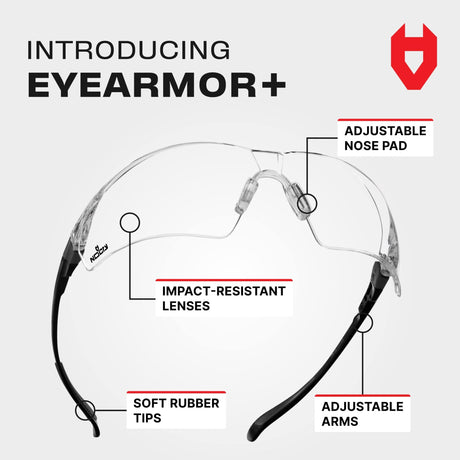
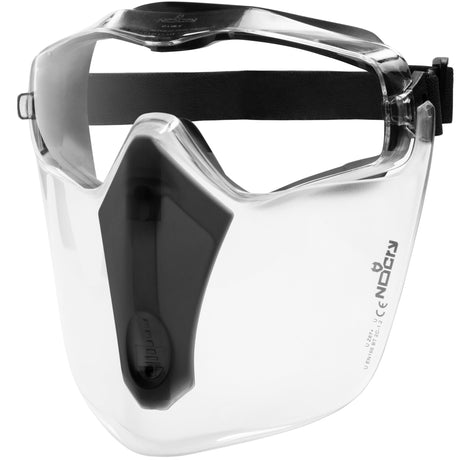
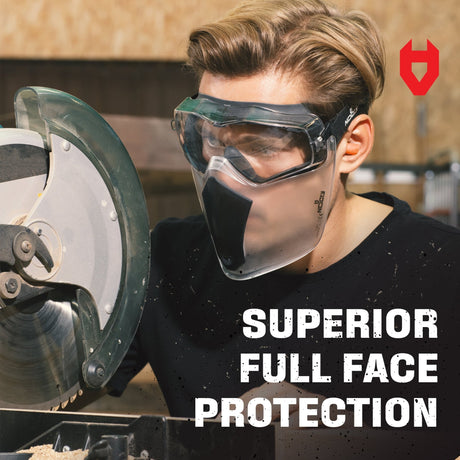
Safety Goggles
You may think it’s enough to simply wear safety glasses when using a sprayer, but for true security, you need comprehensive safety goggles that seal around the eyes. If you need a reliable pair of goggles, check out our range at NoCry.
HEPA Respirator
Much like in the case of protecting your eyes, a paper mask will not be enough cover to keep your mouth and lungs safe from paint mist. Use a HEPA respirator to ensure you can breathe easily before you start spraying.
Spray Sock
If your coveralls are lacking in head and face protective gear, you should invest in a spray sock. This is a ski mask-like cover for your face that will protect you from the mist.
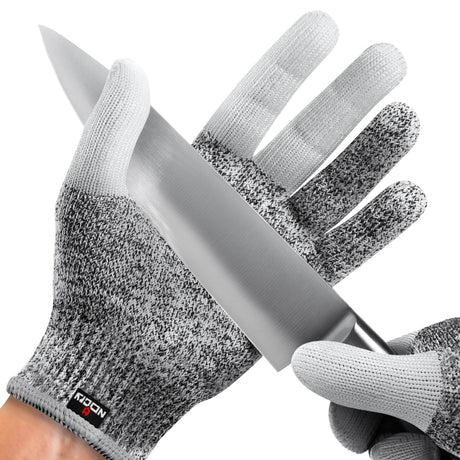
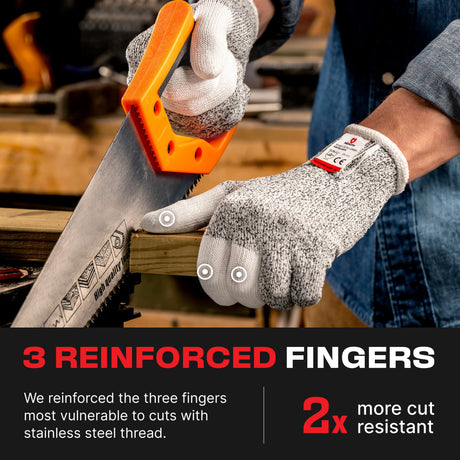
Gloves
Latex gloves are okay, but they won’t really do the job when it comes to keeping the sprayer stable. You should use a pair of old gloves that you can live with ruining, but if you are lacking in work gloves, check out our range at NoCry to affordably increase your arsenal.
How to Use an Airless Sprayer – Step By Step
Now that you understand the benefits and drawbacks of using a paint sprayer, it’s time to review the steps in proper usage.
Cover Surfaces
A key facet of prep work, covering or masking off surfaces is essential to a successful session with your paint sprayer. Whether painting inside or outside the house, you don’t want to paint the wrong stuff, so remove and cover up everything you want to keep clean before beginning.
Assemble Your Equipment
- The Sprayer: Make sure your sprayer is properly set up with enough extension cords, a hose that leads directly to the bucket, and another that leads to the waste bucket. Make sure you’ve got the right spray tip attached.
- Clean Water Bucket: You need a good quantity of clean water aside to rinse the sprayer off after you’re finished painting.
- Waste Bucket: This is another paint bucket that a hose will lead to, catching all the wasted paint and other dregs from the process.
- Plenty of Paint: Don’t start spraying without a whole load of paint, ensure it’s the right kind of paint, and make sure to mix it with the proper solvent if necessary.
Get to Spraying
Once you’ve got your equipment together, got your safety gear on, properly set up the tubes, and plugged in the sprayer it’s time to start painting. Prior to spraying, you need to prime the sprayer with paint for around 30 seconds, filling the components with the paint they need to operate.
Spraying Tips
For the best possible spray pattern, hold the spray gun at a spraying range between 12-24inches away from the wall. Any closer and you’ll see paint drips rolling down the surface, and further away will result in an uneven fuzzy spray pattern. Spray by holding the trigger down and moving back and forth in lateral lines, completing the work in sections.
Final Thoughts
One of the most important aspects of approaching a tool like this is safety. At NoCry, we stock a variety of Safety Goggles and Gloves, as well as Face Shields that could be the difference between an injury and a successful job when using an airless sprayer.